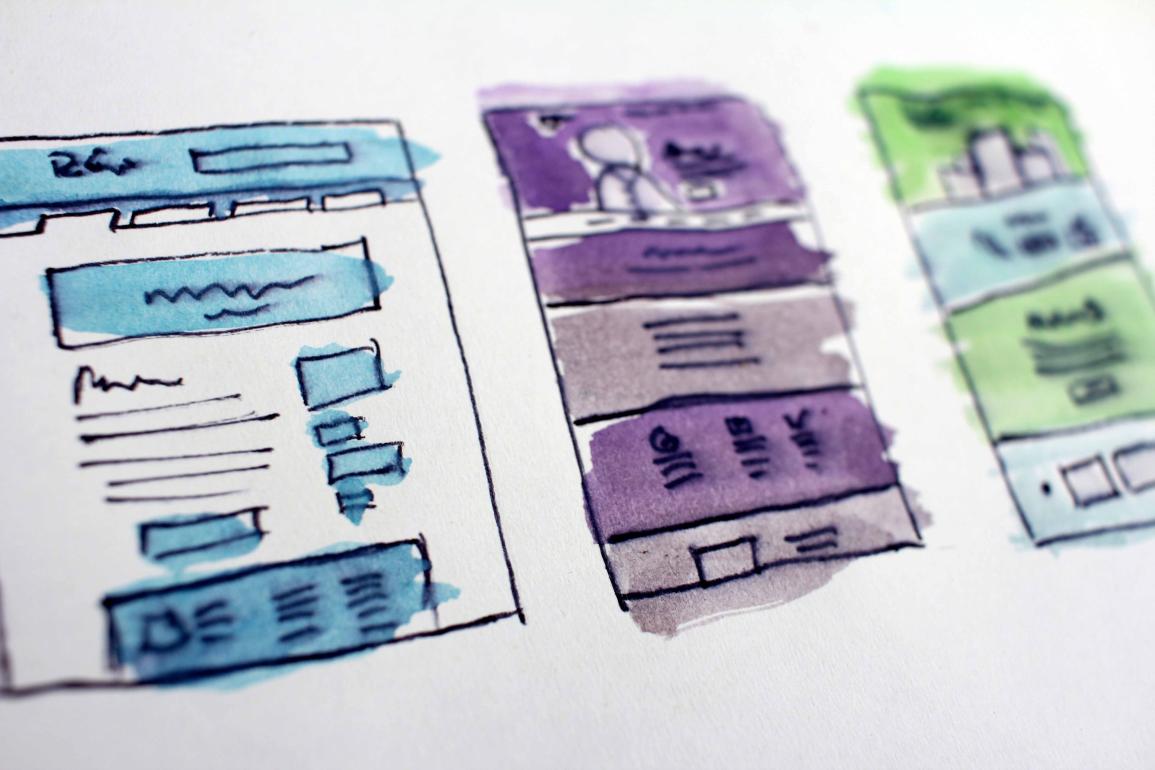
Drupal 8 out of the box is pretty powerful, but the Paragraphs module takes your content entry and theming to the next level. By installing and enabling Paragraphs on your Drupal site, content creators will get access to a number of design options for content types that allow them to let content dictate the design. If you are utilizing the Bootstrap framework for your theme, there is also a Bootstrap Paragraphs module.
Setup-wise, first install and turn on the module (/admin/modules). Then, visit the module UI at /admin/structure/paragraphs_type. This module provides a way to display rows of content (called Paragraphs) outside of a WYSIWYG editor. Paragraphs can be as simple as a title and snippet of text, or as complex as accordions and slideshows.
Paragraphs can also be referenced in other Paragraphs. For instance, let’s say you want to create a new Paragraph that provides a title field, and you want the option of having the title be a link or just plain text. First, you’d create a “title option link” Paragraph, with field link. Then, you’d create a “title option text” Paragraph for the plain text option. Now, we’ll create a “section with title” Paragraph, adding a Paragraph field for “title option.” On “allowed number of values,” we’ll select 1, which will restrict the user to selecting either a link or plain text field. On the next screen, add help text (if needed), then select the two newly created Paragraph title options (“title option link” and “title option text”).
Now, when a content creator adds the “section with title” Paragraph, they will see the option to add a linked title or a plain text title. Once one selection has been made, they will not get an option for any other, since we set the max to 1.
Another Paragraph option could be a row with two columns: one for media, and one for text. Create a new Paragraph called “media text”. Then, add an image field (or media if you’re using the Media module), and then a long formatted text field. We’ll add some more detailed customization by also adding in a list text field called “image placement” that contains the terms “left” and “right”. This will allow the content creators the option of changing the image placement (if the image appears in the left or right column) on each Paragraph instance.
To make the image placement customization work, we’ll need to create a Paragraph template. All these Paragraphs are created, but design-wise, they are a jumble of fields. Our previous post on Drupal 8 Debugging tells you how to view template suggestions to find the naming conventions for our Paragraphs.
In our theme templates folder [website/themes/theme/templates], we’ll create a new template for our Paragraph based on the above suggestion. Inside that template, we’ll add some twig to the div with the row element:
<div class=”row image-{{ content.field_image_placement[0]['#markup'] }}”>
</div>
The additional class will either be “image-right” or “image-left”. I’m going to put the image in the second column, however, in our CSS, we’ll use this awesome css property “flex-direction”. If the image should be on the right, then we won’t need to change a thing. If it should be on the left, we’ll add the following code to an .scss file, which will swap the columns, making the image now appear in the first column:
.image-left {
  flex-direction: row-reverse;
}
The above examples are only the tip of the iceberg; the Paragraphs Module can add so much flexibility for content creators that it truly becomes a “one size fits most” solution to cover virtually all types of your most common content. Add in Drupal’s Layout Builder, and it has never been easier to create organized, visually stunning content on a Drupal 8 website.


